The Playground lets you wire up testcases, an agent, and metrics in a single workspace, then run everything end-to-end. Results and scores appear inline so you can iterate without leaving the page.
How It Works
The Playground is laid out as a left-to-right flow:
- Testcases (left) — the inputs and expected outputs your agent will be tested against
- Agent (center) — the prompt and settings (temperature, maximum length, etc.) that define your agent’s behavior
- Results (center-right) — the agent’s actual responses for each testcase
- Evaluator → Scores (right) — metrics score each result and show pass/fail with reasoning
Click RUN to execute the full flow.
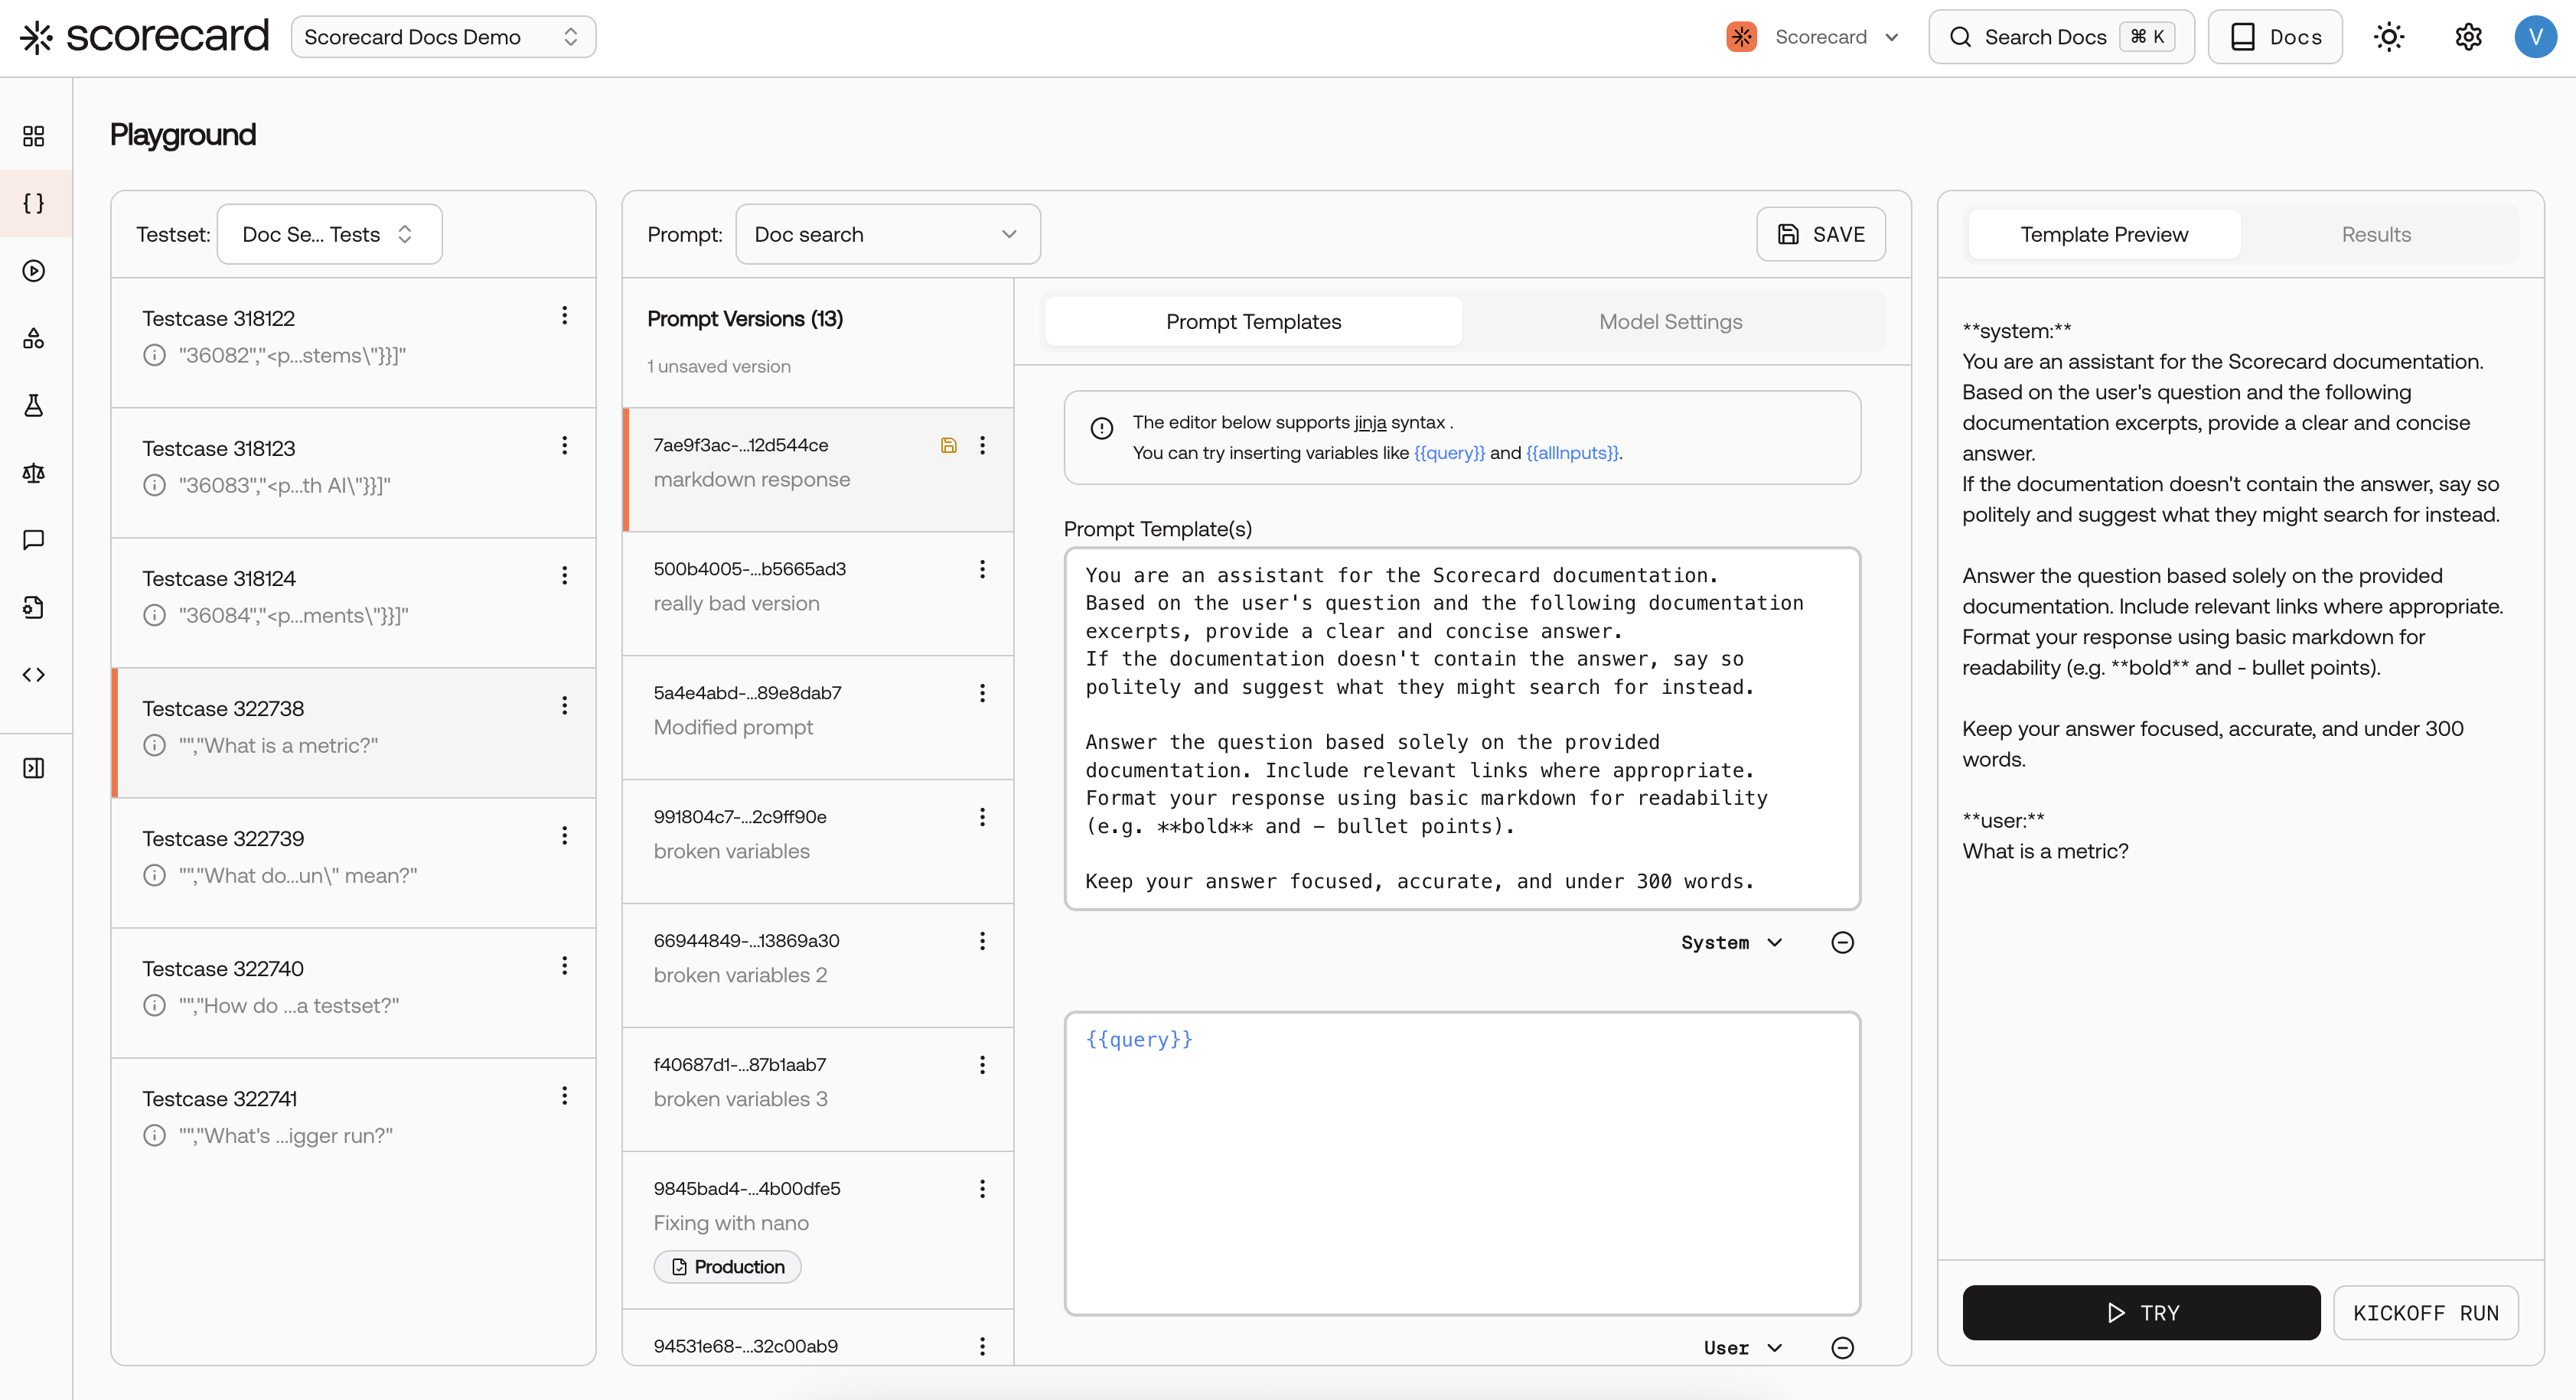
Testcases
Select a testset from the dropdown at the top of the left panel. The testcases in that testset appear as cards below, each summarizing its input fields. Click + Add testcases to create new ones directly in the Playground.
Agent
The Agent node is where you configure what gets sent to the model.
- Prompt tab — write your prompt using Jinja syntax. Reference testcase fields with
{{all.inputs}} or specific fields like {{inputs.query}}.
- Settings tab — choose the model, temperature, and other parameters.
- Messages — click + ADD MESSAGE to add messages and set roles (System, User, Assistant).
The version indicator (e.g. “V1 Prod”) shows which agent version you’re editing.
Results
After a run, each testcase gets a result card showing the agent’s response. Flow lines connect each testcase to its corresponding result.
Evaluator and Scores
The Evaluator node in the top-right holds your metrics. Click it to configure which metrics to use and how many are attached (e.g. “1 METRICS”).
After scoring completes, each result gets a score card on the far right showing:
- Pass/Fail status per metric
- Score value (e.g. 3/5)
- Reasoning explaining why the metric scored the way it did
Update a metric’s guidelines and re-run to see how scoring changes — no need to re-execute the agent.
Workflows
Iterate on a prompt:
Configure agent → RUN → review scores → adjust prompt → re-run
Start here when your outputs are close but inconsistent. Use score reasoning to pinpoint which instruction or example to refine before your next run.
Tune metrics:
RUN → read score reasoning → update metric guidelines → re-run
Use this workflow when agent behavior looks right but grading feels off. Tightening guidelines helps metrics align with your real quality bar.
Expand test coverage:
Review scores → add edge-case testcases → RUN → verify
Use failures and near-misses to identify gaps in your dataset. Adding targeted edge cases improves confidence that your agent generalizes beyond happy paths.